Prerequisites
- SecureAuth Connect Workforce workspace with administrative privileges, configured with the same user store defined in your Umbrella configuration.
- User account with administrative privileges for Cisco Umbrella.
SecureAuth Connect Configuration
- Log in to your SecureAuth Connect Workforce workspace with an admin account.
- In your workspace, select Applications > Clients > Create client.
- Enter a name, provide your Umbrella login URL in the Application URL field (optional, used if you want it to appear in the user portal after login), select SAML Service Provider, and click Create.
- Download the SAML Metadata.
- Scroll down and enable Override SAML Attributes.
- Go to the Attributes tab, choose mail from the predefined attribute list, and click Save to apply the changes.
- On the SAML tab, select the Manual and set the following configurations:
Entity ID : Enter the Entity ID for Cisco Umbrella.
By default, this ID should be https://login.umbrella.com/sso.
For example, https://login.umbrella.com/sso
You can also download the Cisco Umbrella metadata from the next section. Select XML instead of Manual, and upload the Umbrella metadata file.
Enable Override Subject NameID, set Name ID Format to urn:oasis:names:tc:SAML:1.1:nameid-format:emailAddress and Name ID Value to mail.
- Click Save.
Cisco Umbrella Configuration
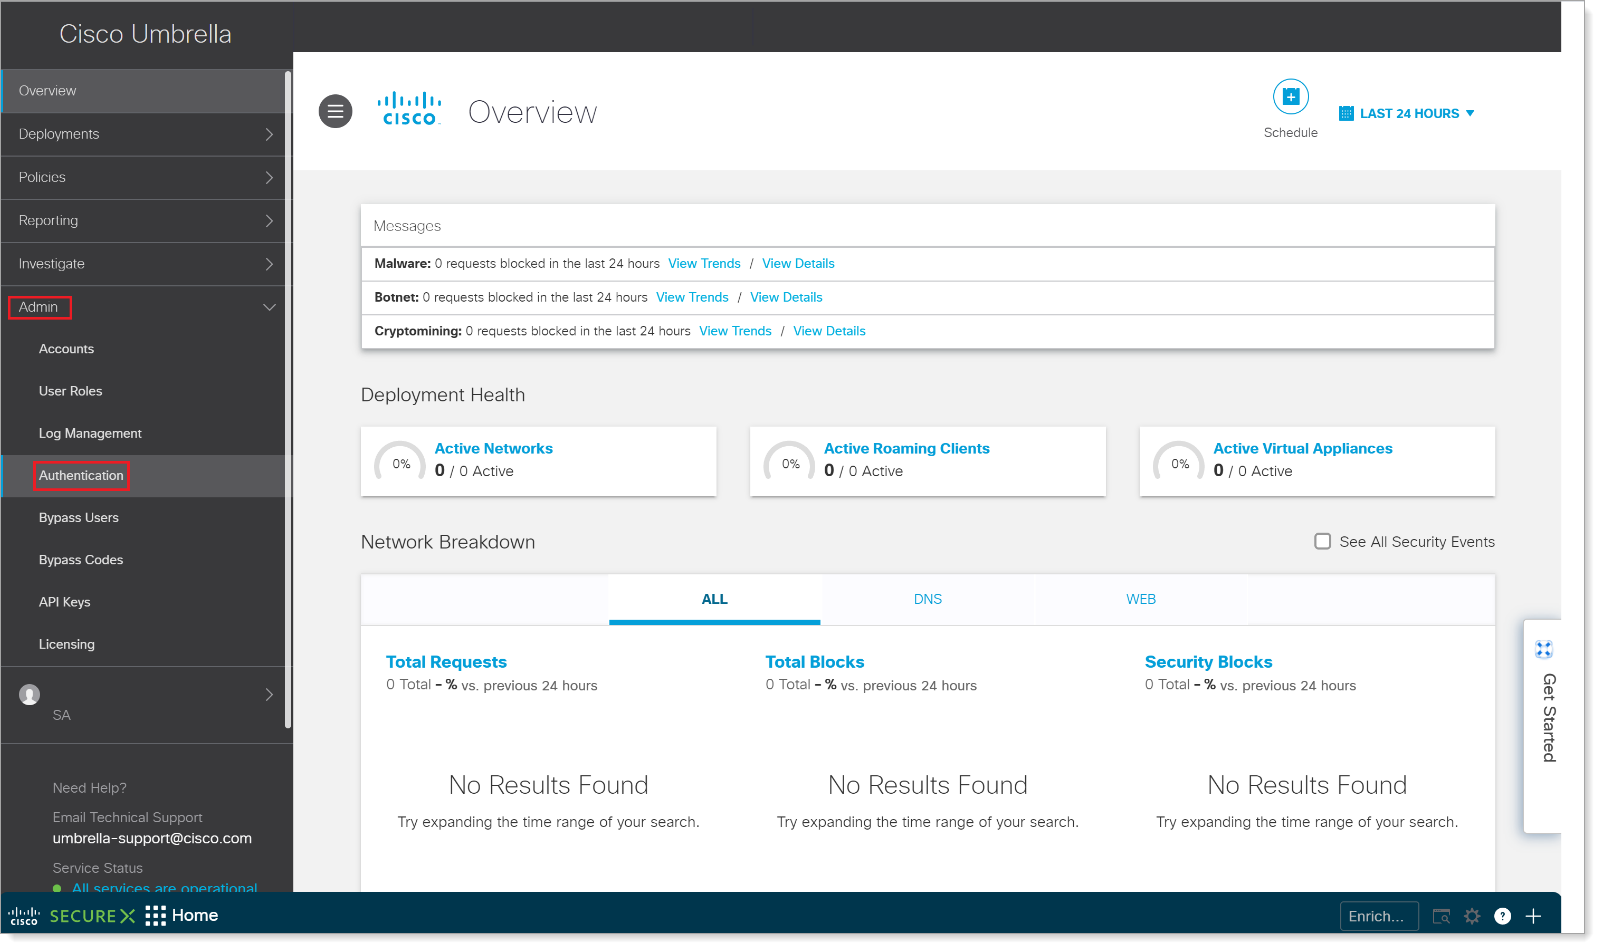
- Log in to Cisco Umbrella with an administrative account.
-
On the left side, click Admin > Authentication.
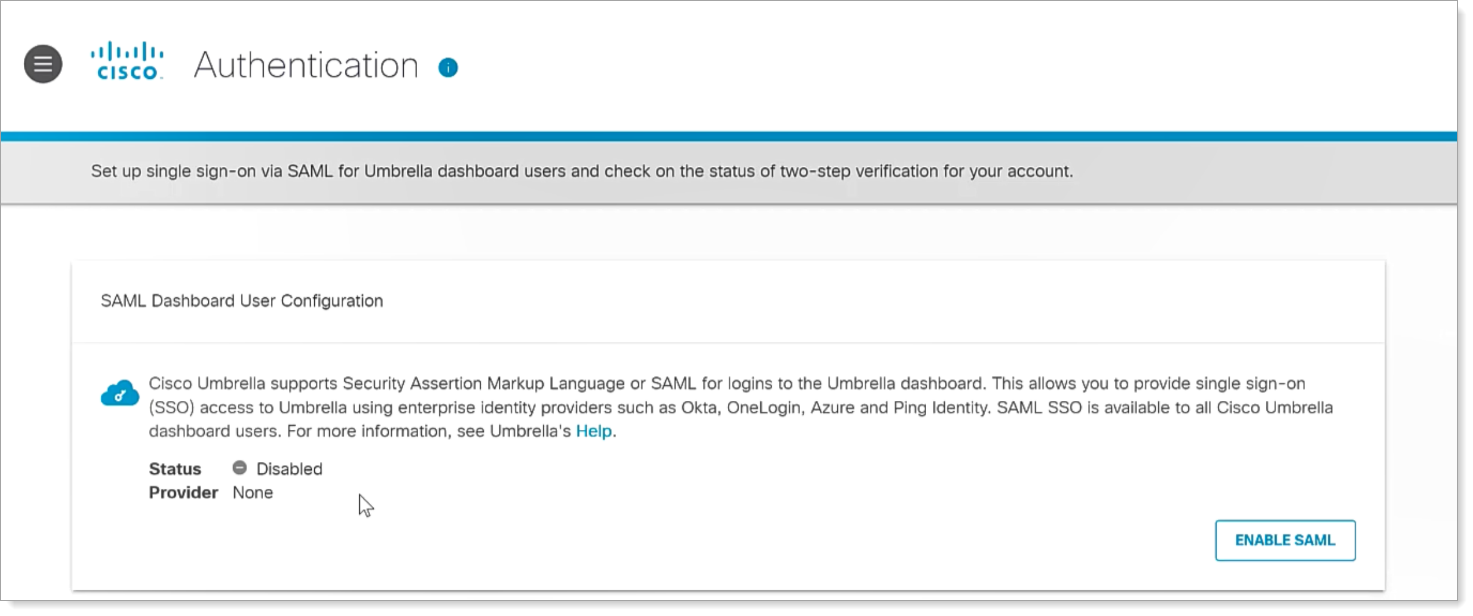
-
On the SAML Dashboard User Configuration page, click ENABLE SAML.
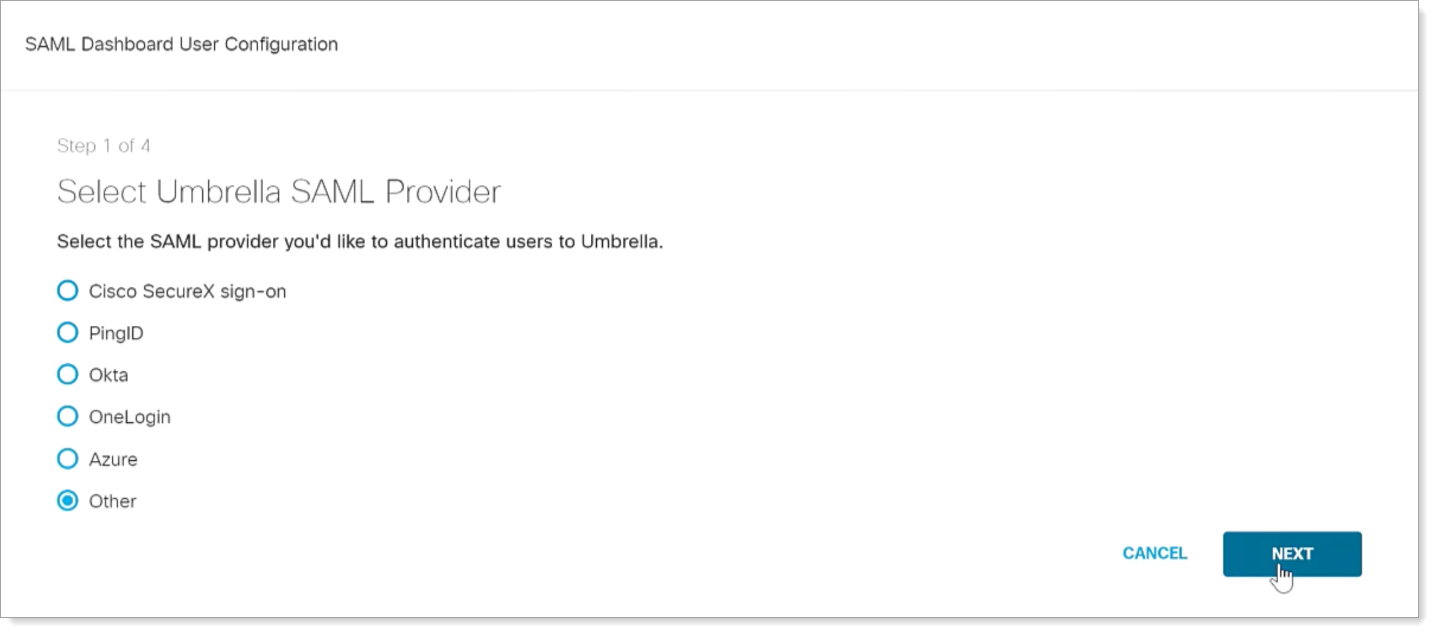
-
Select the Other option, then NEXT.
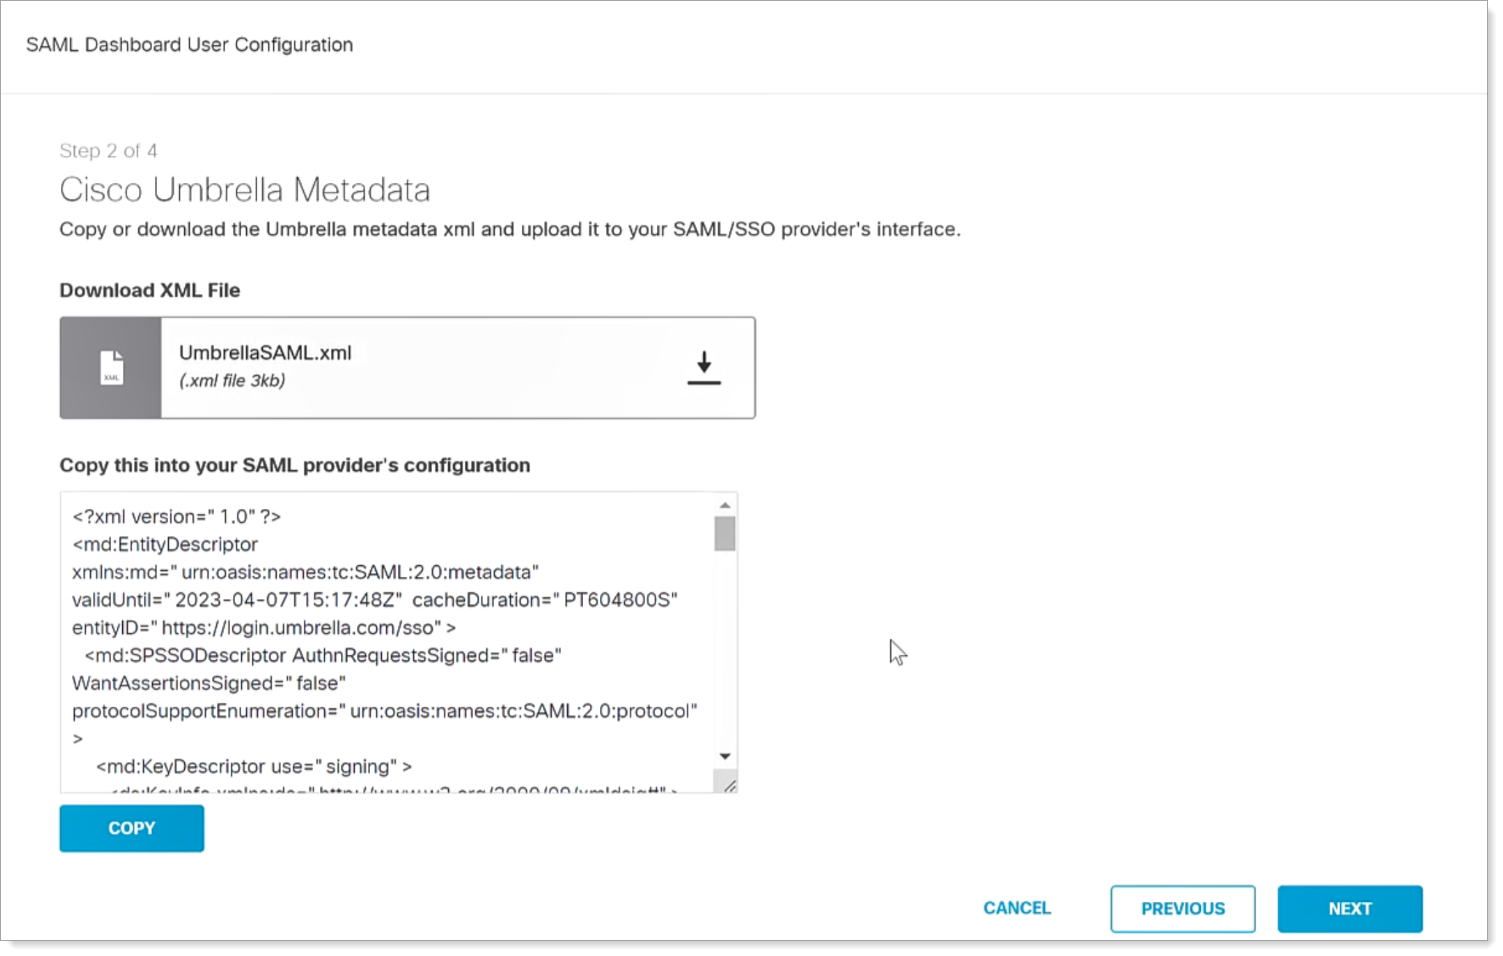
-
You can either download the Cisco Umbrella SAML metadata or copy the metadata from the text box and click NEXT.
Make sure the data you specified in the previous section matches the text that appears in this box.
-
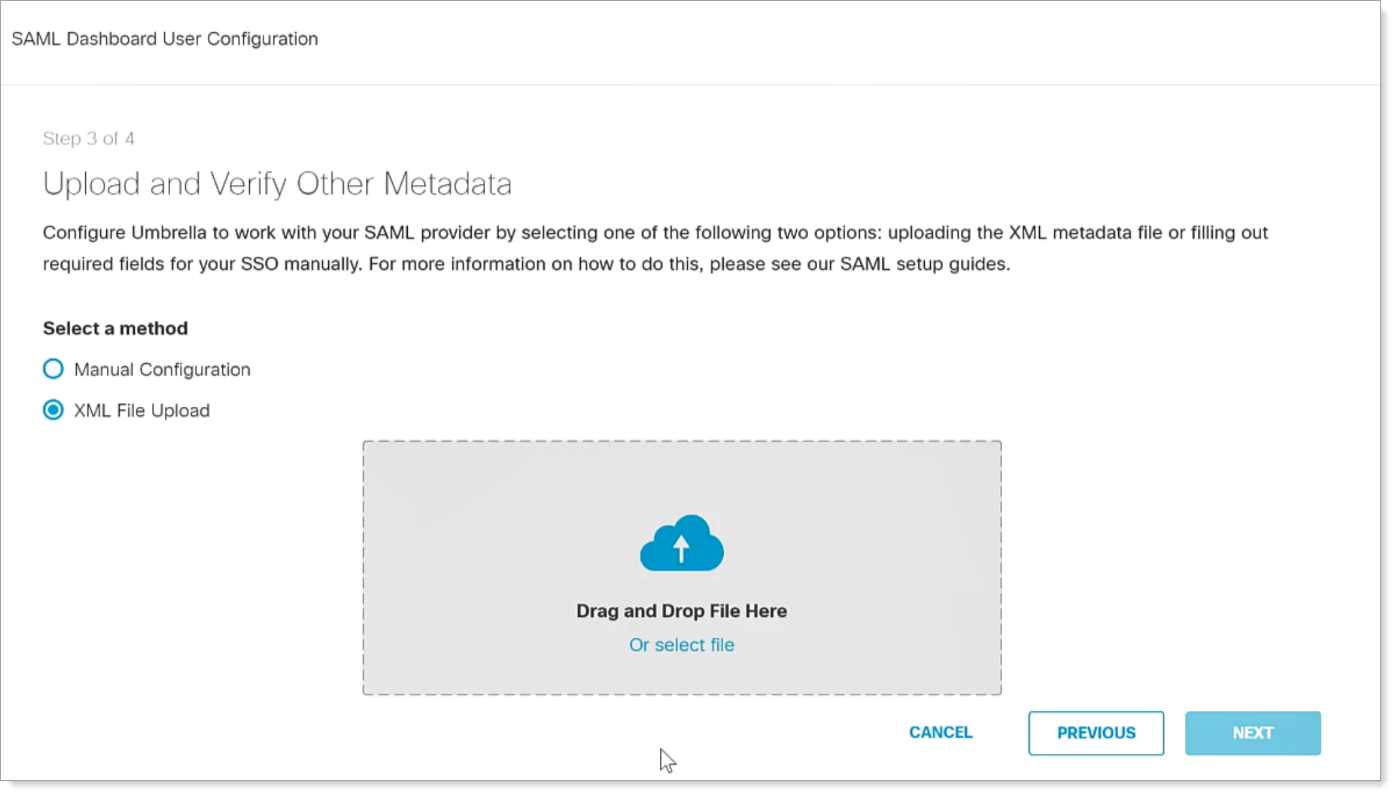
Select the XML File Upload option, upload the SecureAuth Connect metadata, then click NEXT.
-
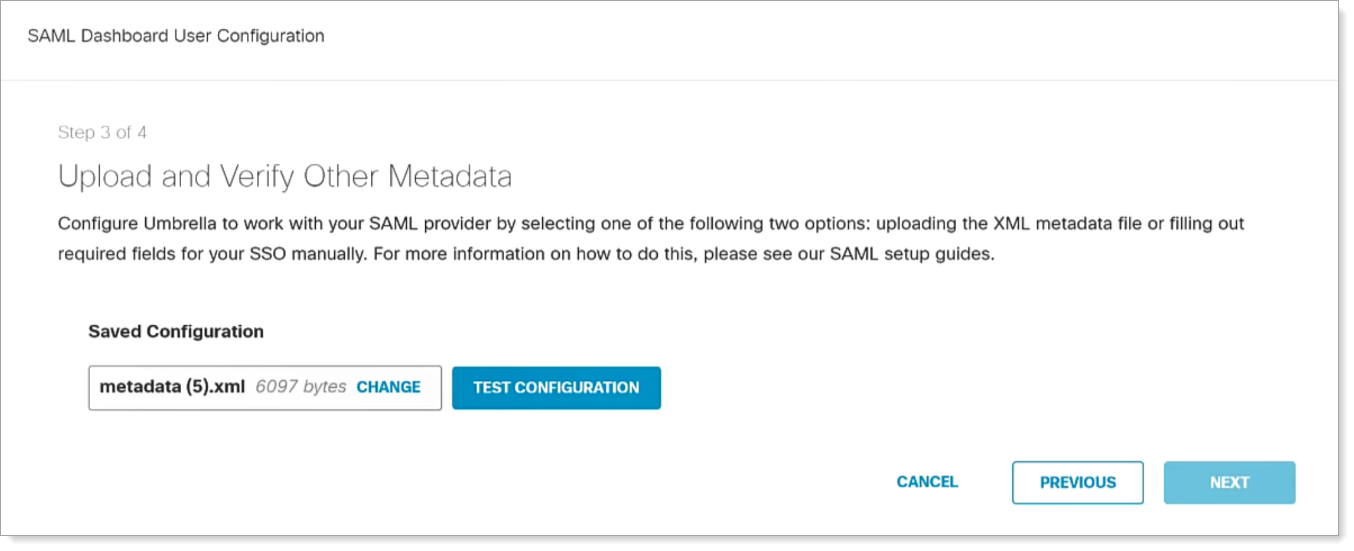
To verify your configuration and SAML metadata, click TEST CONFIGURATION.
-
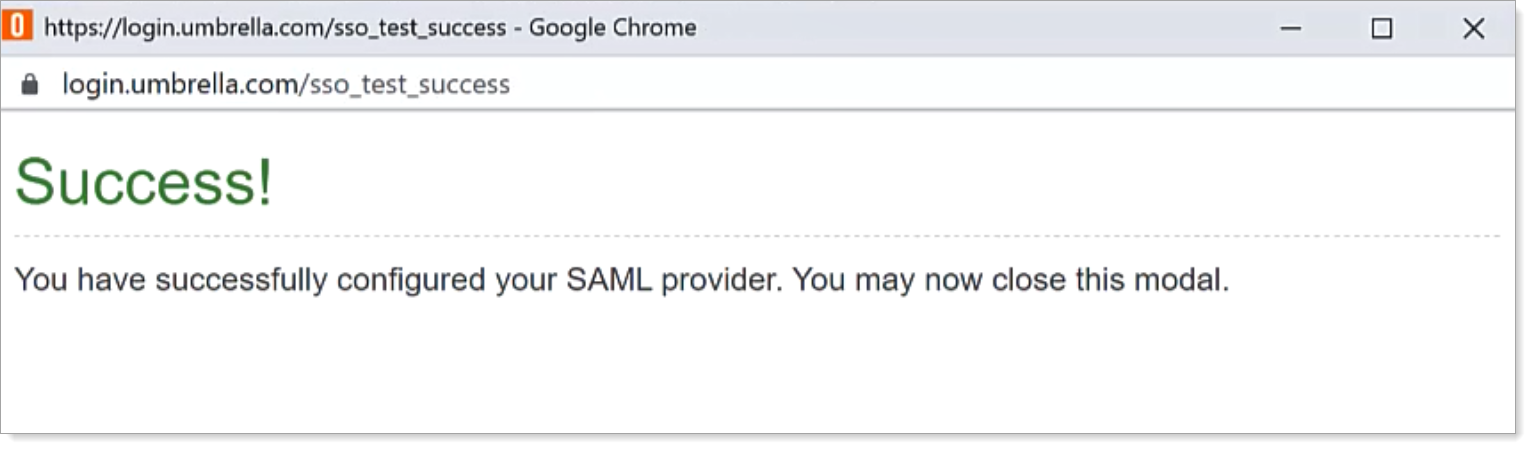
A new window displays a QR code; scan this QR code and then you should see a success message.
- Click NEXT.
-
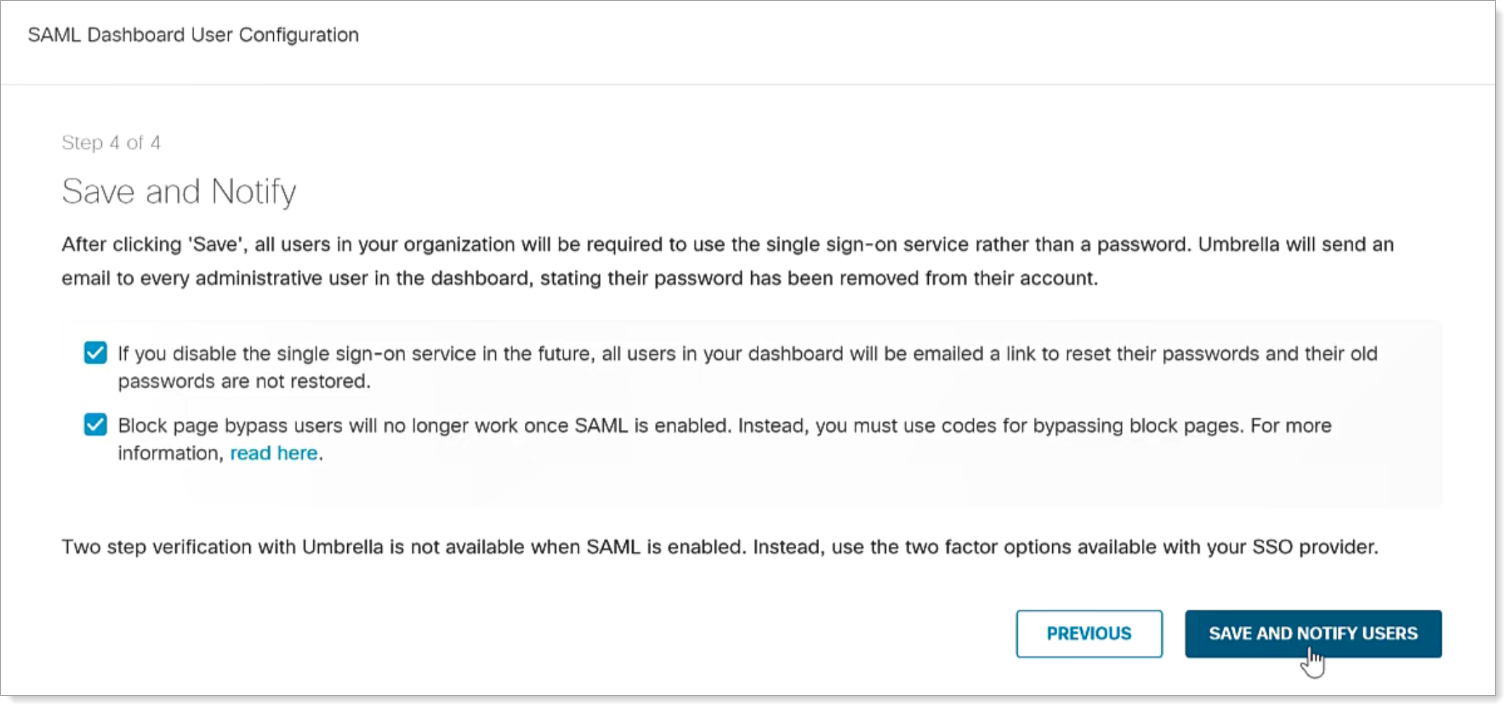
On the Save and Notify page, select both check boxes, and click SAVE AND NOTIFY USERS.
Comments
Please sign in to leave a comment.